Soft clipping vs limiting: why a clipper fixes loudness without pumping
A clipper taking 1 dB off transient peaks will get you more usable loudness than a limiter pulling 3 dB, and it won't pump on every kick. Here's when to reach for each one.
A clipper that takes 1 dB off the top of a snare transient will get you more usable loudness than a limiter pulling 3 dB on the same hit, and it will do it without the kick pumping every bar. If a louder master is the goal, that trade is easy to overlook, because the limiter is quietly doing two jobs at once (catching peaks, holding sustained level) - and it is worse at the first one than a tool built specifically for it.
What soft clipping does to the waveform
A limiter watches the signal, decides it is too loud, and pulls the level down with an attack and release envelope. Even at "0 ms" attack, it is a feedback process with time involved, and it operates on a window of audio around the peak rather than the peak itself. That is why a hard-working limiter dulls transients and pumps under the kick: it is modulating gain across milliseconds of material to catch events that last microseconds.
Hard clipping is the opposite approach. There is no detector, no envelope, no time constant. Anything above the threshold gets cut flat. The waveform tip becomes a literal horizontal line, and the body of the signal below the threshold is untouched. Mathematically you are pushing a sine wave toward a square wave, which generates strong odd harmonics. Done aggressively on a full mix it sounds harsh fast, but applied conservatively to a transient peak that lasts two milliseconds, the ear barely registers it as distortion.
Soft clipping sits between the two. Instead of a sharp corner at the threshold, the transfer curve bends gradually, rounding the peak into an S shape. That rounding generates mostly lower-order harmonics (odd ones with a symmetric curve, even ones too if the curve is asymmetric) that read as warmth, density, or presence rather than distortion. Push the drive deeper and higher-order harmonics accumulate, at which point it crosses into audible saturation. The waveform body below the bend still passes through linearly. No attack time, no release time, no envelope modulation across the rest of the signal.
When to reach for a clipper instead of the limiter
The case for a clipper is strongest on transient-heavy material: drum buses, percussion-led mixes, anything where brief peaks are eating headroom without contributing much to perceived loudness. Trimming 1 to 2 dB off the tips of kick and snare hits with a clipper lets the downstream limiter work with a more even signal, which means less gain reduction overall and less of the pumping and transient dulling that comes with it.
The case is weakest on sustained or highly dynamic material where you do not want added harmonic colouration. Solo piano, acoustic guitar, orchestral strings, jazz trio: a clipper will audibly thicken these in ways a transparent limiter will not. The two-stage chain (light clipping into light limiting) is genre-specific, not universal. EDM, hip-hop, metal, and modern pop masters benefit, whereas Folk and classical generally do not.
Per-track clipping at the mix stage is a separate use. A clipper on a kick channel or drum bus can tighten transient consistency and add character without burning a compressor slot, and it keeps the harmonic colour focused on the element that needs it rather than washing across the whole mix.

How to dial it in
Start with gain staging. The signal entering the clipper should have peaks around -3 to -6 dBFS, not slammed against 0. If the mix is already pinned before the clipper opens, pull the bus down first; otherwise the plugin is deep into its curve before you have touched a control.
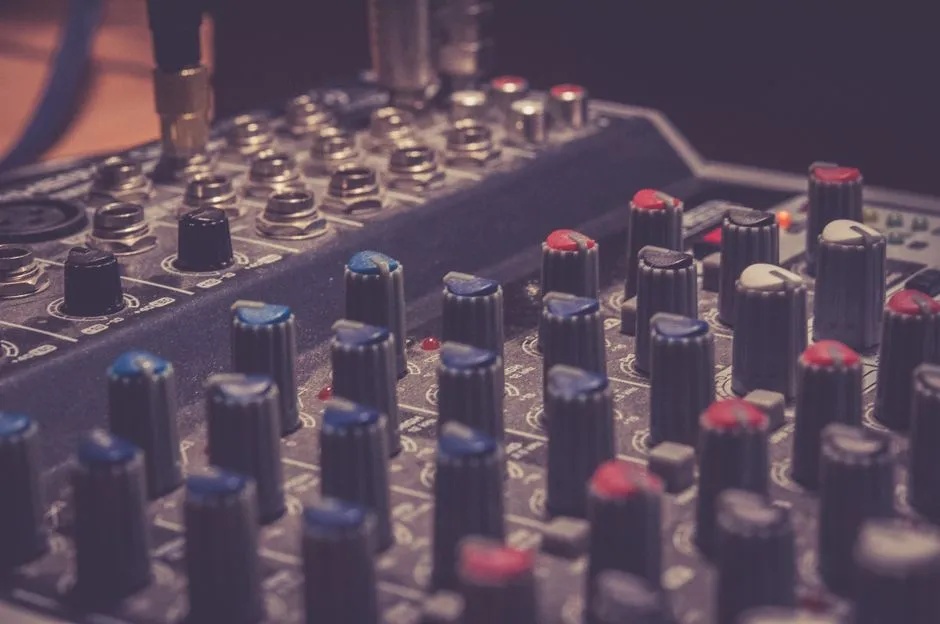
Pick a mode that matches the job. On SIR Audio Tools StandardCLIP, the mode switch moves between softer saturation curves and harder brick-wall behaviour. On Kazrog KClip 3, Smooth or Crisp is the default for drums and masters; Tube and Tape add more obvious colour and suit bass or guitar buses. On Ozone Maximizer, the soft clip module sits before the limiter in the signal flow and offers Light, Moderate, and Heavy curve shapes.
Raise the input drive until the gain reduction meter shows 1 to 2 dB on the loudest peaks. The waveform display should show rounding on the tips only, not flattening through the shoulders and body. Below 1 dB the clipper is barely contributing; above 3 to 4 dB you start to hear the distortion on sustained tones and the low end starts smearing.
Set oversampling to at least 4x for real-time work, 8x or higher for offline renders. Clipping generates harmonics above Nyquist, and without oversampling those fold back into the audible band as aliasing - the grainy, metallic sheen on hi-hats and bright synths that tells you the chain is under-resourced. StandardCLIP goes up to 256x for offline use; KClip Zero, the free variant of KClip 3, includes the same algorithm and offers up to 16x offline.
Set the ceiling last. If the clipper is the final plugin, -0.1 or -0.3 dBFS works for streaming compliance. If a limiter follows, leave the clipper at 0 dBFS and let the limiter handle the true-peak ceiling. KClip 3's own manual is explicit about not asking the Ceiling control to do heavy lifting: it warns that relying on the Ceiling to clip substantial dBs will produce audible aliasing, because that final stage runs at session sample rate with no oversampling. It is there to catch the few samples that creep above the oversampled clipping stage, not as a loudness tool.
What about Pro-L 2
FabFilter Pro-L 2's Aggressive algorithm is described on the official product page as a near-clipping algorithm designed for aggressive metal and EDM mixes. It pushes Pro-L 2 closer to clipper behaviour than its more transparent algorithms (Transparent, Modern, Allround), and on dense, percussive material it can do a lot of what a dedicated clipper does without leaving the limiter. It is a limiter algorithm with a fast, hard character, rather than a soft-clip waveshaper module in the way Ozone's Magnify Soft Clip is. For a one-plugin mastering chain it works well. For more control over the split between peak shaving and sustained limiting, a dedicated clipper feeding a separate limiter gives you more independent handles.
The setting that fixes most loudness problems
If a mix is hitting the limiter for 5 dB of reduction and pumping on every kick, the fastest improvement is a clipper upstream taking 1.5 dB off the tips at 4x oversampling, with the limiter then doing 3 dB instead of 5. That single change does more for how the master plays back than most fader moves on the mix bus, and it is the cleanest way to get loud without losing the punch you were chasing in the first place.